NOTE:
This documentation was written for one of the earlier wovyn devices. The general process and setup is essentially the same, but with just a few minor differences, so don't be surprised if your experience doesn't match perfectly with this documentation.
Connecting a Wovyn sensor to the Internet of Things using a Pico and KRL.
Opening up the sensor, we can see model, serial, and version numbers. Besides its internal sensors, this device has an external temperature probe on a nine foot cable.

Turning over the plastic-shielded printed circuit board, and pulling out the battery pack gives us access to everything we need to proceed.
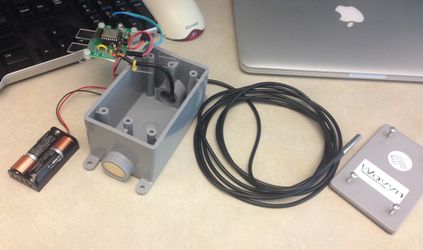 The small black chip is the temperature sensor.

Step-by-step guide
Configuring the sensor to send its event:
- Get its attention by interrupting the power. We removed one of the batteries and replaced it. Immediately after restoring power, press the small black button beside the largest chip on the board. This will cause the device to become, for a short time, a WiFi hotspot.
- Before selecting the wifi hotspotTo configure the sensor's endpoint, we must turn the sensor into a wifi hotspot and connect to it. Before doing this, find and write down your ip address, pico engine port number, pico DID, and the domain/type of the event you would like to send (e.g. wovyn/heartbeat).
- To turn the sensor into a hotspot, interrupt the power by disconnecting the cable. After a few seconds, replug the power cable and press the white button on the board. You should see the little blue light rapidly flash.
- Select the WiFi hotspot using your personal computer. In our case, its advertised name is Wovyn_0EC86F2C2025. After a brief moment, the capture screen appears. See step 4 if it does not automatically appear.
- On some operating systems, the capture screen does not appear automatically, and you'll need to open a browser, point it somewherenavigate somewhere (doesn't matter where), and the capture will open therein.
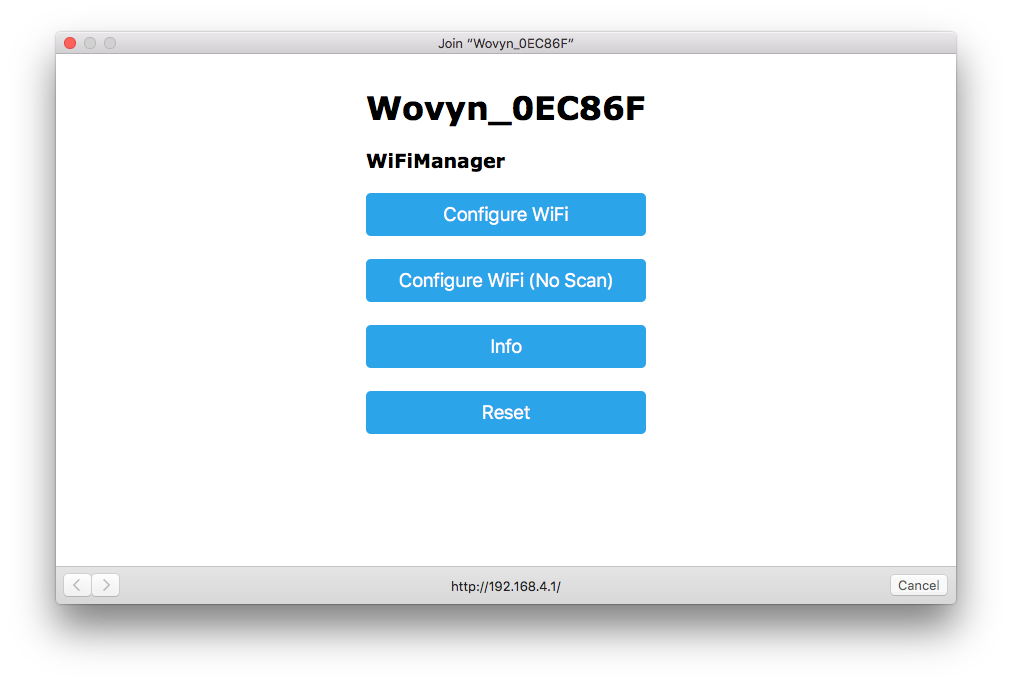
- If you click on the button "Configure WiFi", the device will scan for WiFi hotspots and present a list, from which you can select one. Select the network which the device should use to communicate to the Internet. If you know the SSID, you could instead choose the button "Configure WiFi (No Scan)", and enter the SSID manually. You will see these prompts:
NOTE: You will not see the endpoint split into segments like in the following picture if you are working with the newer wovyn software, rather you will see a single endpoint box where you enter all your information in a single slot. i.e. enter Enter "http://<yourIPaddress>:<yourPort>/sky/event/<yourDID>/<eventID>/<domain>/<type> under endpoint URI
![]()
...

- The complete path for our experimental "sky/event" was set up as "/sky/event/ECI/EID/postwovyn/testheartbeat", with "ECI" replaced with an actual event channel identifier of a pico running on that engine, and we used the digit "5" as an event identifier. Note that the leading slash is necessary in the path. With all the information provided, click the "save" button.
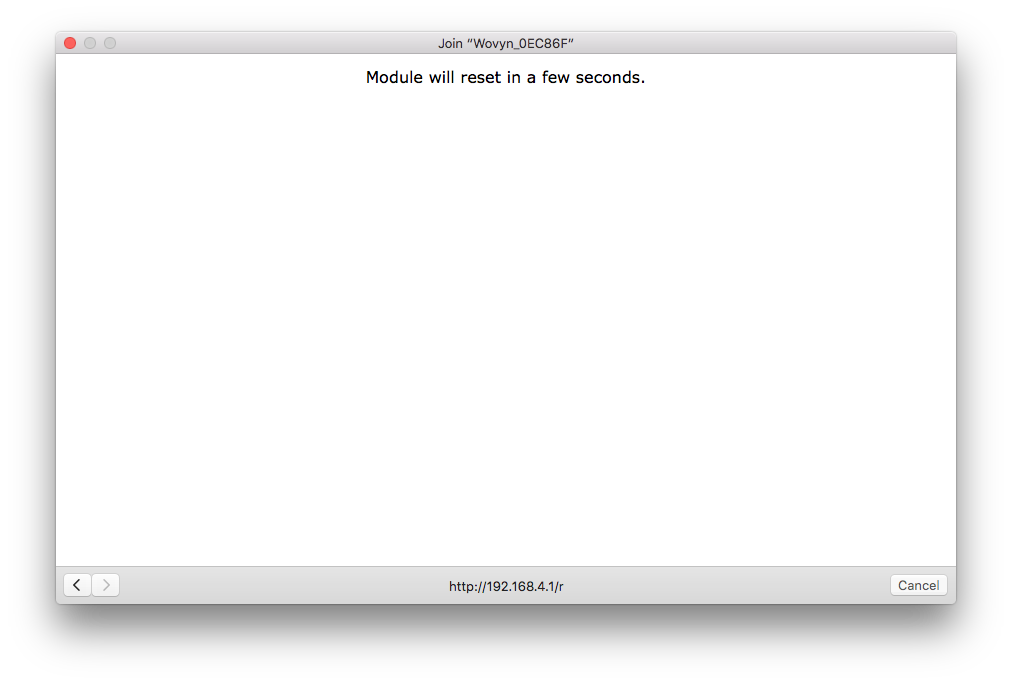
- The device responds with this acknowledgement page.
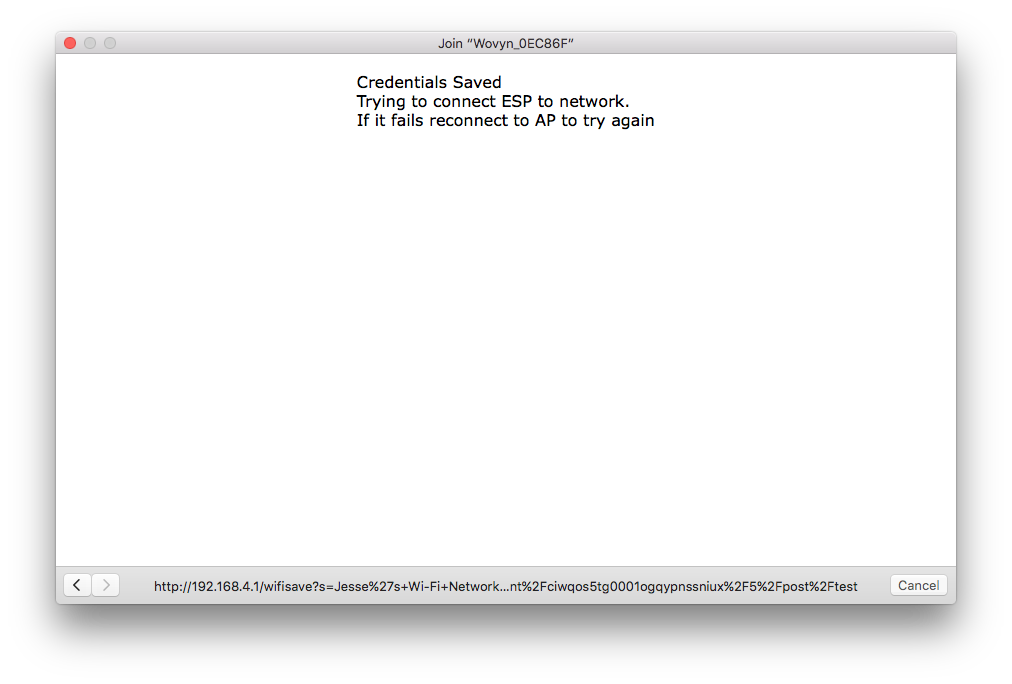 The page will close automatically after a few seconds.
Of course the pico identified by the ECI will need a ruleset to receive the event. This is the KRL code that we used initially.
Code Block linenumbers true ruleset post_test { meta { shares __testing } global { __testing = { "queries": [ { "name": "__testing" } ], "events": [ { "domain": "post", "type": "test", "attrs": [ "temp", "baro" ] } ] } } rule post_test { select when post test pre { never_used = event:attrs().klog("attrs") } } }The rule selected does nothing but log the event attributes. Notice that the ruleset shares a test harness which allows us to easily send a test event from the "Testing" tab of the "My Picos" page.
We used the "Logging" tab to see what happens when the device sends an event.
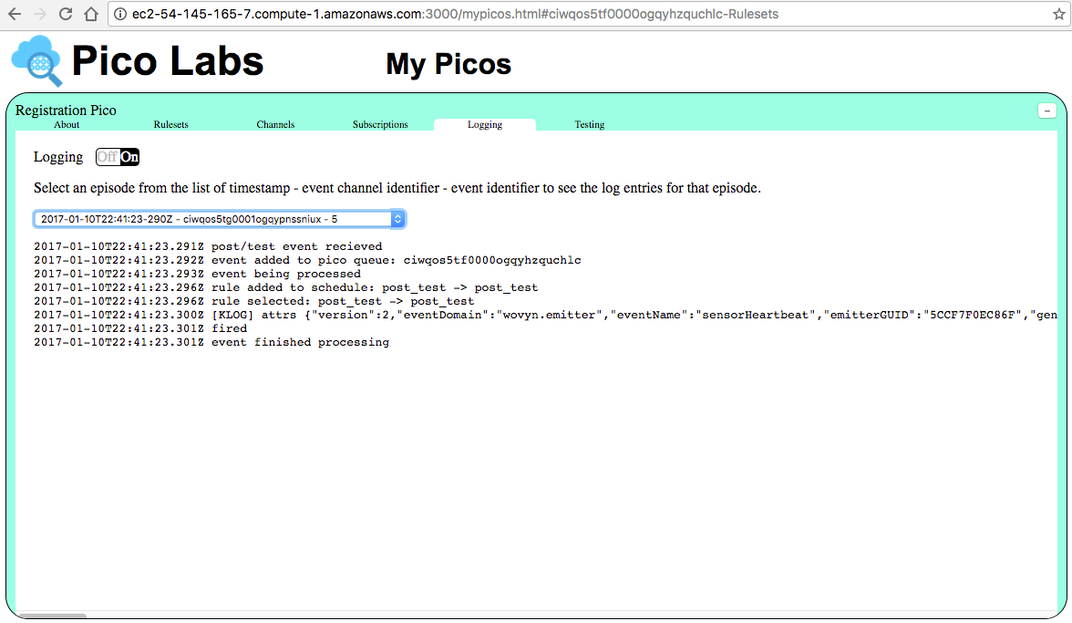
Notice that several attributes are sent by the device. The first of these are "version", "eventDomain", "eventName", and "emitterGUID". The horizontal scrollbar indicates that there is much more. Capturing and re-formatting all of it, we see that the remaining attributes are named "genericThing", "specificThing", and "property". The following data structure is current as of 1/21/18.Code Block { "emitterGUID":"5CCF7F2BD537", "eventDomain":"wovyn.emitter", "eventName":"sensorHeartbeat", "genericThing":{ "typeId":"2.1.2", "typeName":"generic.simple.temperature", "healthPercent":56.89, "heartbeatSeconds":10, "data":{ "temperature":[ { "name":"ambient temperature", "transducerGUID":"28E3A5680900008D", "units":"degrees", "temperatureF":75.31, "temperatureC":24.06 } ] } }, "property":{ "name":"Wovyn_2BD537", "description":"Temp1000", "location":{ "description":"Timbuktu", "imageURL":"http://www.wovyn.com/assets/img/wovyn-logo-small.png", "latitude":"16.77078", "longitude":"-3.00819" } }, "specificThing":{ "make":"Wovyn ESProto", "model":"Temp1000", "typeId":"1.1.2.2.1000", "typeName":"enterprise.wovyn.esproto.wtemp.1000", "thingGUID":"5CCF7F2BD537.1", "firmwareVersion":"Wovyn-WTEMP1000-1.14", "transducer":[ { "name":"Maxim DS18B20 Digital Thermometer", "transducerGUID":"28E3A5680900008D", "transducerType":"Maxim Integrated.DS18B20", "units":"degrees", "temperatureC":24.06 } ], "battery":{ "maximumVoltage":3.6, "minimumVoltage":2.7, "currentVoltage":3.21 } }, "version":2 }We also tried out the "Reset" option, which apparently forgets only the WiFi hotspot the device uses to send its heartbeat events, but retains the endpoint information.
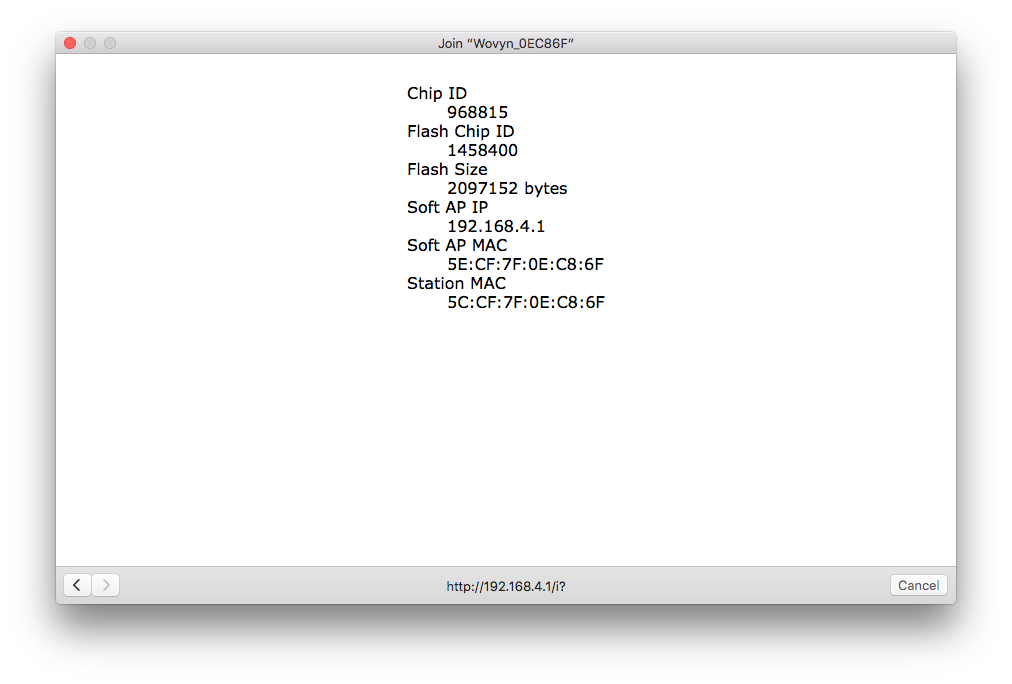
- Finally, the "Info" button presents some internal information.
...
Related articles
| Filter by label (Content by label) | ||||||||||||||||||
|---|---|---|---|---|---|---|---|---|---|---|---|---|---|---|---|---|---|---|
|
...