...
Prerequisite: you will need to install node (also known as Node.js) on your machine. It Be sure that you are installing at least version 4. The installation includes npm, the node package manager, which you will use to install the pico engine. (Node.js is a trademark of Joyent, Inc. and is used with its permission. Picolabs is not endorsed by or affiliated with Joyent.)
Once you have npm and node on your machine, open a command line window and issue these two commands, which will install and start the node pico engine.
| Code Block |
|---|
$ npm install -g pico-engine $ PORT=8084 pico-engine http://localhost:8084 |
...
8080 |
The node pico engine will spend some time initializing internal data structures before it starts its web server.When you first run the node pico-engine, it does some initialization work, which may take some time. After doing this, it starts will start a web server on the port you selected, if any, or on port 8080.
Note that the web server displays the URL of its document root, ex. "http://localhost:80848080" and then continues to run. As we will see later, messages will be logged to this console, so it is best not to close this command line window.
Create a primary, or owner pico
During the pico engine initialization, it creates a primary pico, naming it "Owner Pico" and then registers and three rulesets and installs two rulesetsof them in the owner pico. These are the minimum required for running the pico and the developer UI. You can visit the developer UI, "My Picos", at the address on which the pico engine is listening. From there you will have a link to the main developer UI page, "My Picos":
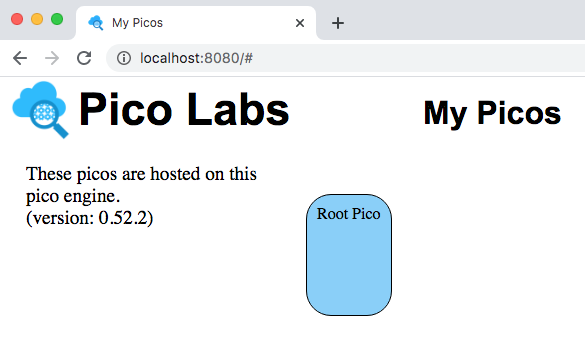
Your owner pico is represented by a rounded rectangle, which is placed on a canvas, allowing you to change its placement. Keep this tab open for use in registering and installing your ruleset, below.
...
Having completed this quickstart, you should continue with Lesson 1. Events and Queries Lesson