...
- understand important concepts about programming in KRL including ruleset structure*
- know how to install and operate the node pico-engine
- know how to use your the "Engine Rulesets" page to register a ruleset
- know how to add a ruleset to a Pico
- become familiar with using the "My Picos" page to work with your Picos
Concepts
*This section is copied verbatim from Quickstart
...
- clone from the repository at https://github.com/Picolab/node-pico-engine
- change into the folder named "node-pico-engine"
- run the command `npm install`
- choose a port number for the web server which the pico-engine implements (the default is 8080)
- start the pico-engine web server, using say `PORT=8084 npm start` to select port 8084
The web server will display the URL of its document root, ex. "http://localhost:80808084"
Create a Pico
Visit the default web page of your web server. As this page loads, it will perform a bootstrap sequence, which creates a Pico, known as "Owner Pico" and then registers and installs two rulesets.
...
Enter the ruleset name "hello_world" into the small box (with placeholder "ruleset id") in the "Engine Rulesets" page (linked from the "Pico Bootstrap" page), and click the "Add rulesetadd" button. Then complete the ruleset, and click the "Verify" button. When your KRL compiles correctly, you will see a result of "ok" beneath the buttons.
...
| Info |
|---|
Hint: you should also save your ruleset somewhere in your file system, or in a repository, named, say "hello_world.krl", as the editor in the "Engine Rulesets" page is very primitive and does not have include a "save to disk" option. |
Click on the "register" button. Notice the circle beside the ruleset name. This indicates that the source code has been registered with the pico-engine, but is not yet enabled. Click on the "enable" button.
Finally, click on the "install" button. This causes the pico-engine to compile the KRL and cache the compiled version in the "rulesets" folder. Once this has been done, the ruleset can be added to Picos.
Adding the Ruleset to your Pico
So far, you have installed the ruleset into your pico-engine. But it can't run unless it has been added to a Pico.
Adding a ruleset to a Pico is properly a user function, but as a developer, you are functioning in both user and developer capacities.
View your Owner Pico by visiting the "My Picos" page (linked from the "Pico Bootstrap" page).
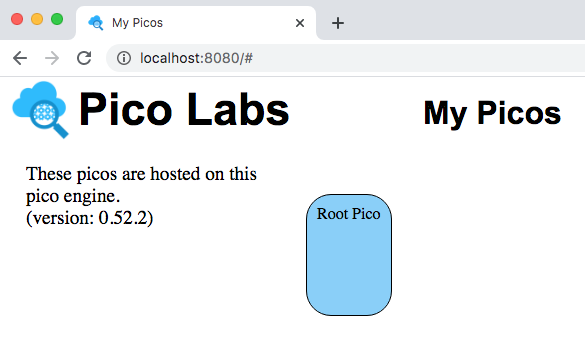
Your owner Pico is represented by a rounded rectangle, which is placed on a canvas, allowing you to change its placement.
Click on the rounded rectangle, on your Owner Pico. It expands giving you access to information about it.
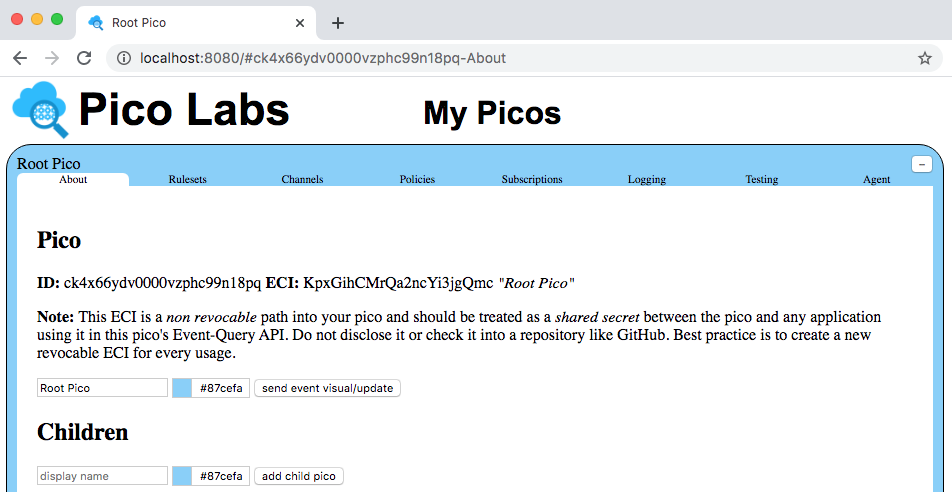
The "About" tab will be used in subsequent lessons.
Click on the "Rulesets" tab.
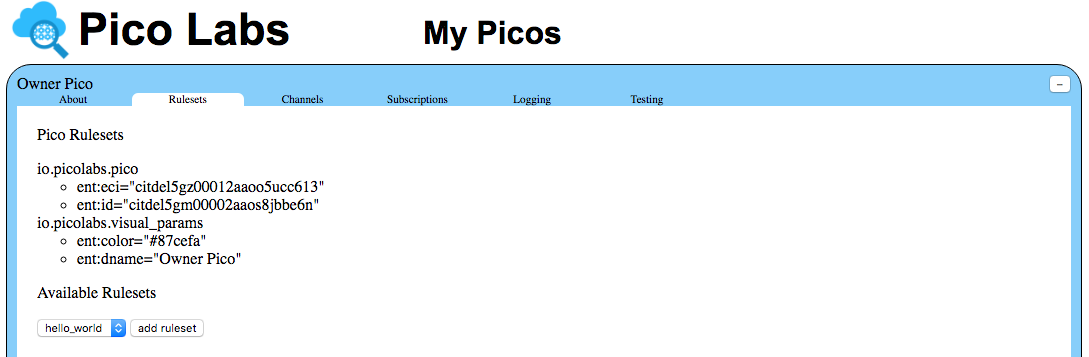
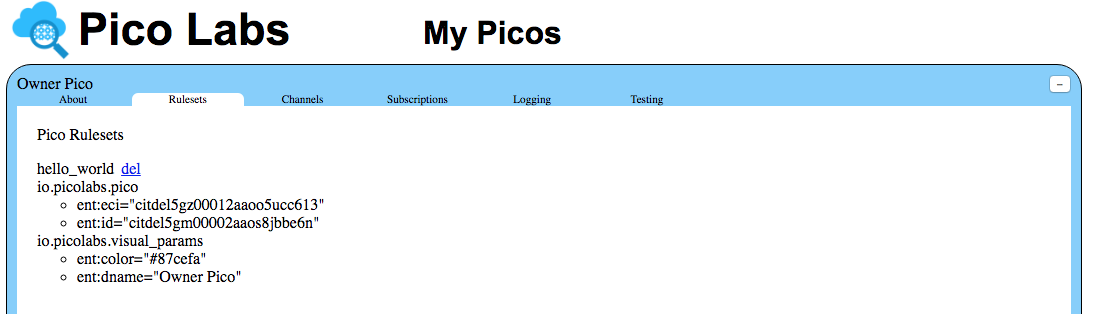
Notice that the name of your ruleset is in a drop-down list. Click the "add ruleset" button to add the ruleset to your Pico.
Next Steps
Having completed this quickstart, you should continue with Lesson 1. Events and Queries