This quickstart will help you get your KRL programming environment set up and working.
The old Quickstart for SquareTag is still available.
Concepts
Getting started with KRL can be a big leap because there are so many things that are different about programming in KRL:
- KRL is a rule-based language.
- KRL primarily follows an event-based programming model.
- KRL programs execute with a cloud-based model; there is no way to execute them from the command line.
- KRL programs are loaded from the cloud using HTTP.
- KRL programs execute in a system where identity is pervasive; all events are raised on behalf of a specific entity.
- KRL programs have built-in, entity-specific persistent storage; there is no need for external databases.
The result of these properties is a programming model that more closely resembles programming cloud-based persistent objects than anything else. We call these persistent computational objects "picos".
KRL is executed by the Kinetic Rules Engine (KRE), a open-source, cloud-based rule processing system. All of the properties listed above are present in any KRE system.
To be executed, a ruleset must be
- available via HTTP and identified by a URL
- The URL must be registered with one or more instances of KRE and given a ruleset ID or RID
- The RID must be installed in one or more picos
- The pico must receive a request via the Sky Cloud API or the Sky Event API
Prerequisites
To complete the following Quickstart you will need
- An editor. There are KRL plugins for many popular editors
- A Github account
- An account on a KRE instance. The easiest way to do this is to use the Kynetx hosted instance of KRE.
Writing KRL
Do the following:
- Create a
gitrepo for your KRL rulesets and put it on Github. You can create a different repo for each ruleset if you like or create one repo and put multiple rulesets in it. Create file in your ruleset repo called
hello.krland put the following in it:ruleset hello_world { meta { name "Hello World" description << A first ruleset for the Quickstart >> author "Phil Windley" logging on sharing on provides hello } global { hello = function(obj) { msg = "Hello " + obj msg }; } rule hello_world is active { select when echo hello send_directive("say") with something = "Hello World"; } }Use one of the methods in Tips for Developers to validate (parse) your ruleset.
Installing and using the KRL command line parser can be a real time saver if you're going to be writing several rulesets. Checking in and trying to execute rulesets that don't parse is one of the primary frustrations of beginning KRL developers.
- Check your ruleset into Github.
Registering Your Ruleset
Getting your parsed ruleset into Github is a great first step, but the rules engine doesn't know anything about it. Registering a ruleset gives it a Ruleset ID (RID) in the rules engine so that other users can install and run it.
To register the ruleset, we will use the KRL Developer Tools at Pico Labs.
For information about creating an account and using the KRL Developer Tools, see the Developer Tools Tutorial.
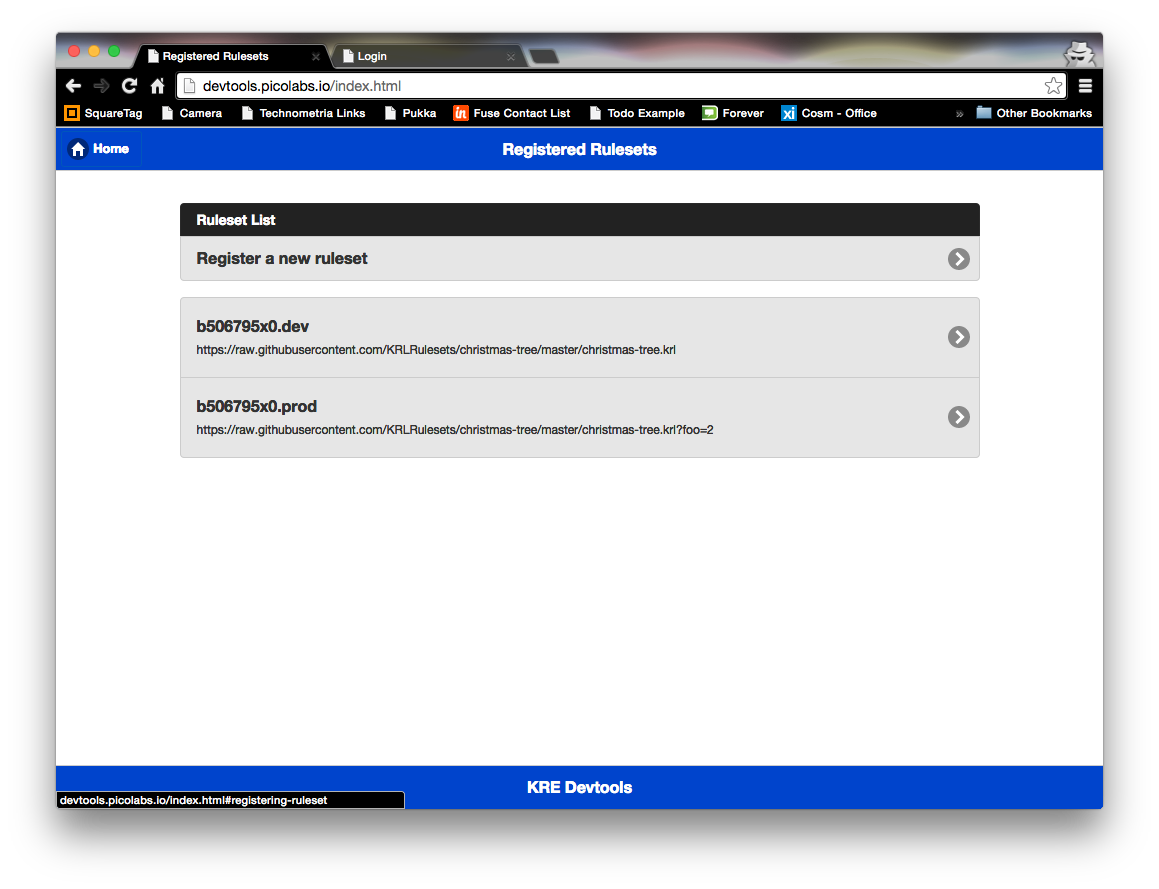
When you click on the "Register Rulesets" menu item in the KRl Developer tools, you will see this page that shows all your registered rulesets and a menu item to register a new ruleset:
When you click on "Register a new ruleset" you'll see this page:
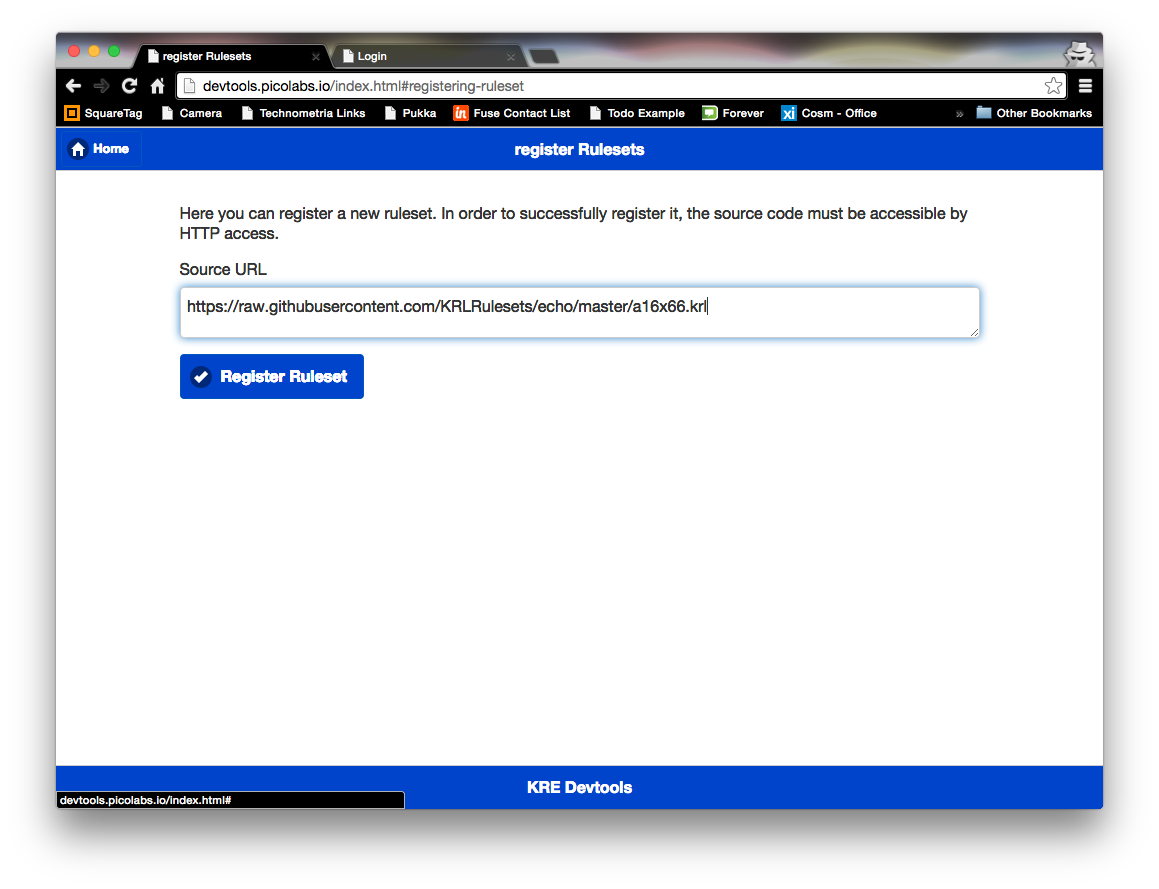
You should enter the URL of the ruleset you saved in the last section. If you saved your ruleset in Github, ensure that you enter the raw URL.
After you press "Register Ruleset" you'll be returned to the list of registered rulesets. The ruleset you just registered should be in the list:
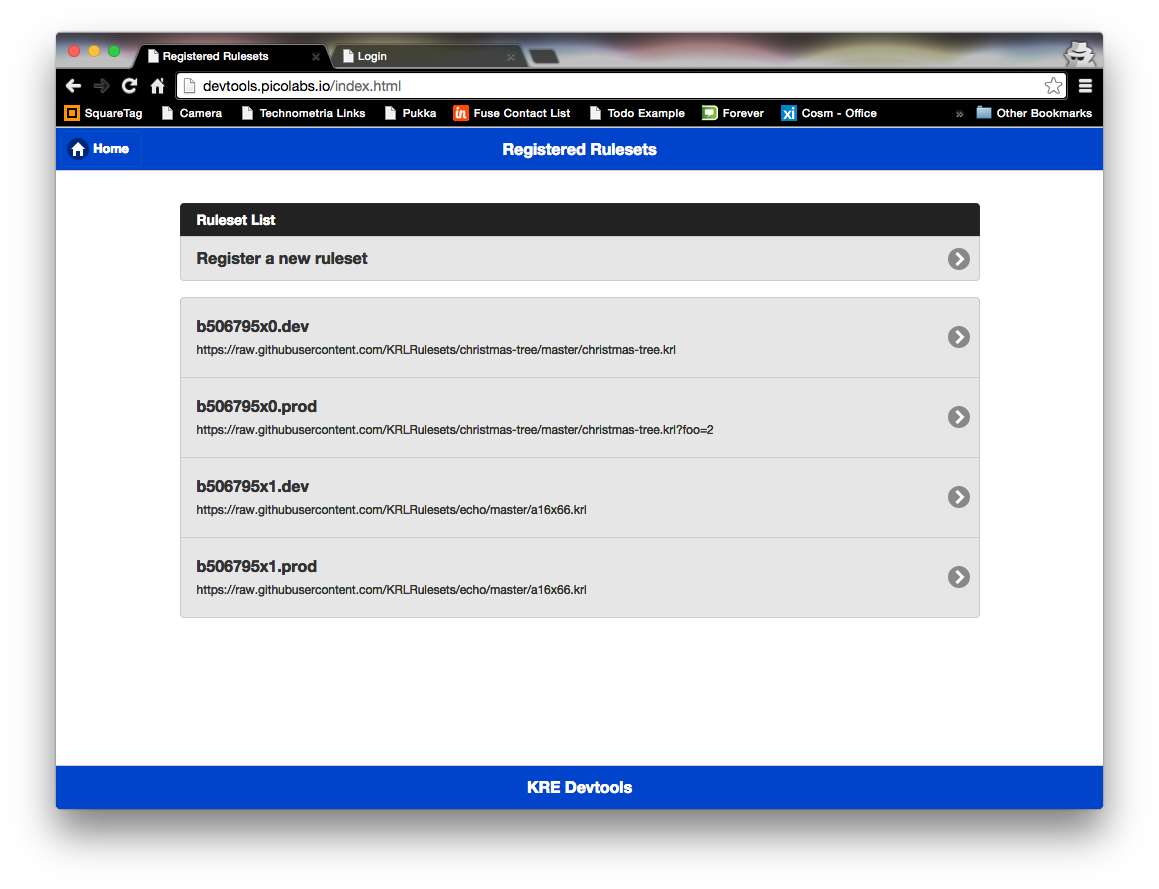
Note that registering a ruleset creates both prod and dev versions of the RID which can be updated independently. You can use different RID versions to create a production copy and a development copy of the ruleset.
The ruleset is now registered and ready for use.
Installing the Ruleset
Flushing the Ruleset
Testing the Ruleset
Debugging the Ruleset