The My Picos page will be at http://localhost:8080/
When you visit this page, you will see a rounded rectangle which represents your owner pico. It can be dragged to move it to a different location on the canvas. You can drag a corner to reshape and/or resize it.
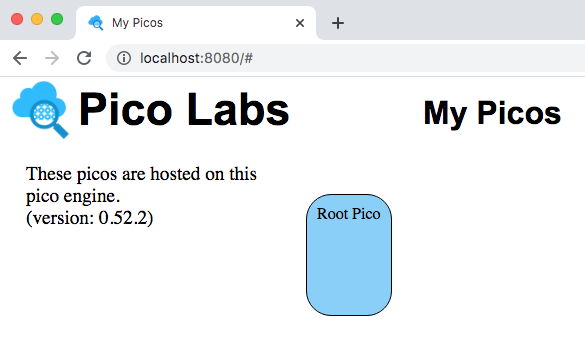
A single left mouse click on the rounded rectangle will open it up for a more detailed look at the properties of your owner pico.
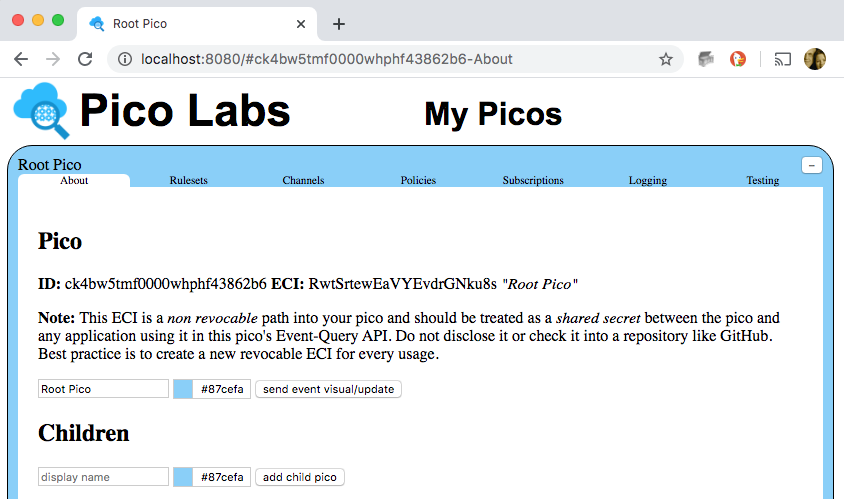
The information about the pico is organized with tabs.
- About tab contains the pico's identifier (ID) and secret event channel identifier (ECI), allows you to change it's display name, and/or color. This tab also shows any child picos, and allows you to create child picos, giving each one a display name and color.
- Rulesets tab contains a list of rulesets installed in this pico. A checkbox to the left of each ruleset identifier (RID) when checked will allow you to see the entity variables of this ruleset which are stored in the pico. There is also an input box that you can use to install a ruleset from a raw KRL source code URL. Finally, there is a list of rulesets which are registered in the pico engine, but not installed in your pico. If it makes sense, you can select one of these and install it into the pico.
- Channels tab shows the list of ECI's which can be used to contact the pico. Normally, the main secret ECI is never used by outside applications. Instead you use the input boxes in this tab to create new channels for separate purposes. This tab also allows you to delete channels which you have previously created. Doing so revokes the ability of outside applications to use the ECI again.
- Subscriptions tab shows the list of subscriptions in which the pico participates. Checking the box shows more detail about the subscription. It is planned to add a set of input boxes to this tab to allow you to initiate subscription requests, and respond to pending subscription requests.
- Logging tab allows you to see detailed logging information concerning events and queries sent to the pico. To enable logging you must (using the Rulesets tab) install the
io.picolabs.loggingruleset in the pico, and then turn logging on. - Testing tab has a list of rulesets which are installed in the pico. Checking the box beside a ruleset RID opens a list of forms which will permit you to supply arguments and send queries and/or events to the pico. The results of these queries and events will be displayed on the right side of the tab's display area.