The following is a suggested workflow for new Pico developers. Related information is available in the following resources:
Programming involves a collection of tools, often referred to as the "tool chain" since they are used more or less in sequence. Here's a graphical representation of the tool chain for programming picos, noting each stage. We'll use this to organize the remainder of this document.
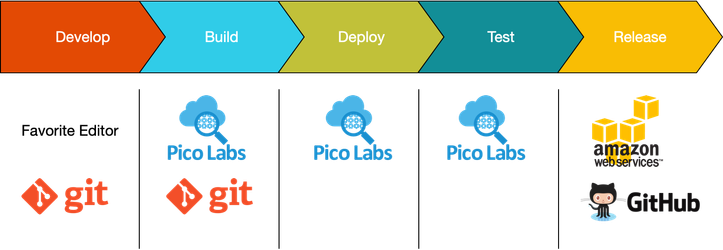
Develop
To develop KRL for picos, you can use Git (or another versioning tool) and your favorite editor. There are plug ins for several popular editors.
Create a directory for your project
$ mkdir workflow
$ cd workflow/
Initialize the project directory as a Git repository
$ git init
- Create a KRL ruleset as a file in the repository using your favorite editor. There may be a KRL plugin for your editor.
Build
The build process for rulesets primarily involves parsing to ensure it is correctly formatted. The preferred way to do this is using a Git pre-commit hook.
Follow the directions in Setting Up a Git Pre-Commit Hook to Parse KRL to set up the KRL parser and ensure that KRL files are parsed before they are committed.
Add the file to the repository and commit it.
$ git add hello_world.krl
$ git commit -a -m "initial commit"
Flushing com.windley.hello_world
[master (root-commit) 4a2f95c] initial commit
 1 file changed, 34 insertions(+)
 create mode 100644 hello_world.krl
With the pre-commit hook in place, you're assured that there are no parse errors in your ruleset if it commits.
Deploy
Deploying consists of two steps: registering the ruleset with the engine and installing it in any picos in which it should run.
- Register the ruleset with the pico engine. There are automated ways to do this, but for initial development, you can do in manually. Navigate to the rulesets.html resource on your engine (i.e. if you engine is running at localhost:8080, then go to http://localhost:8080/rulesets.html. You'll see a screen that looks like this:
Also, the pre-commit hook flushes rulesets in a local engine.
- install the ruleset in your pico by navigating to the Rulesets page in the pico engine interface and putting it's full URL in the box labeled "Install ruleset from URL:" and clicking the button. We are using the file: URL scheme to load the ruleset from the filesystem directly into the engine rather than relying on an external server. The file URL is the schema file:// prepended to the full pathname of the file (yes, there are three slashes):
file:///Users/pjw/prog/picolabs/pico_lessons/workflow/hello_world.krl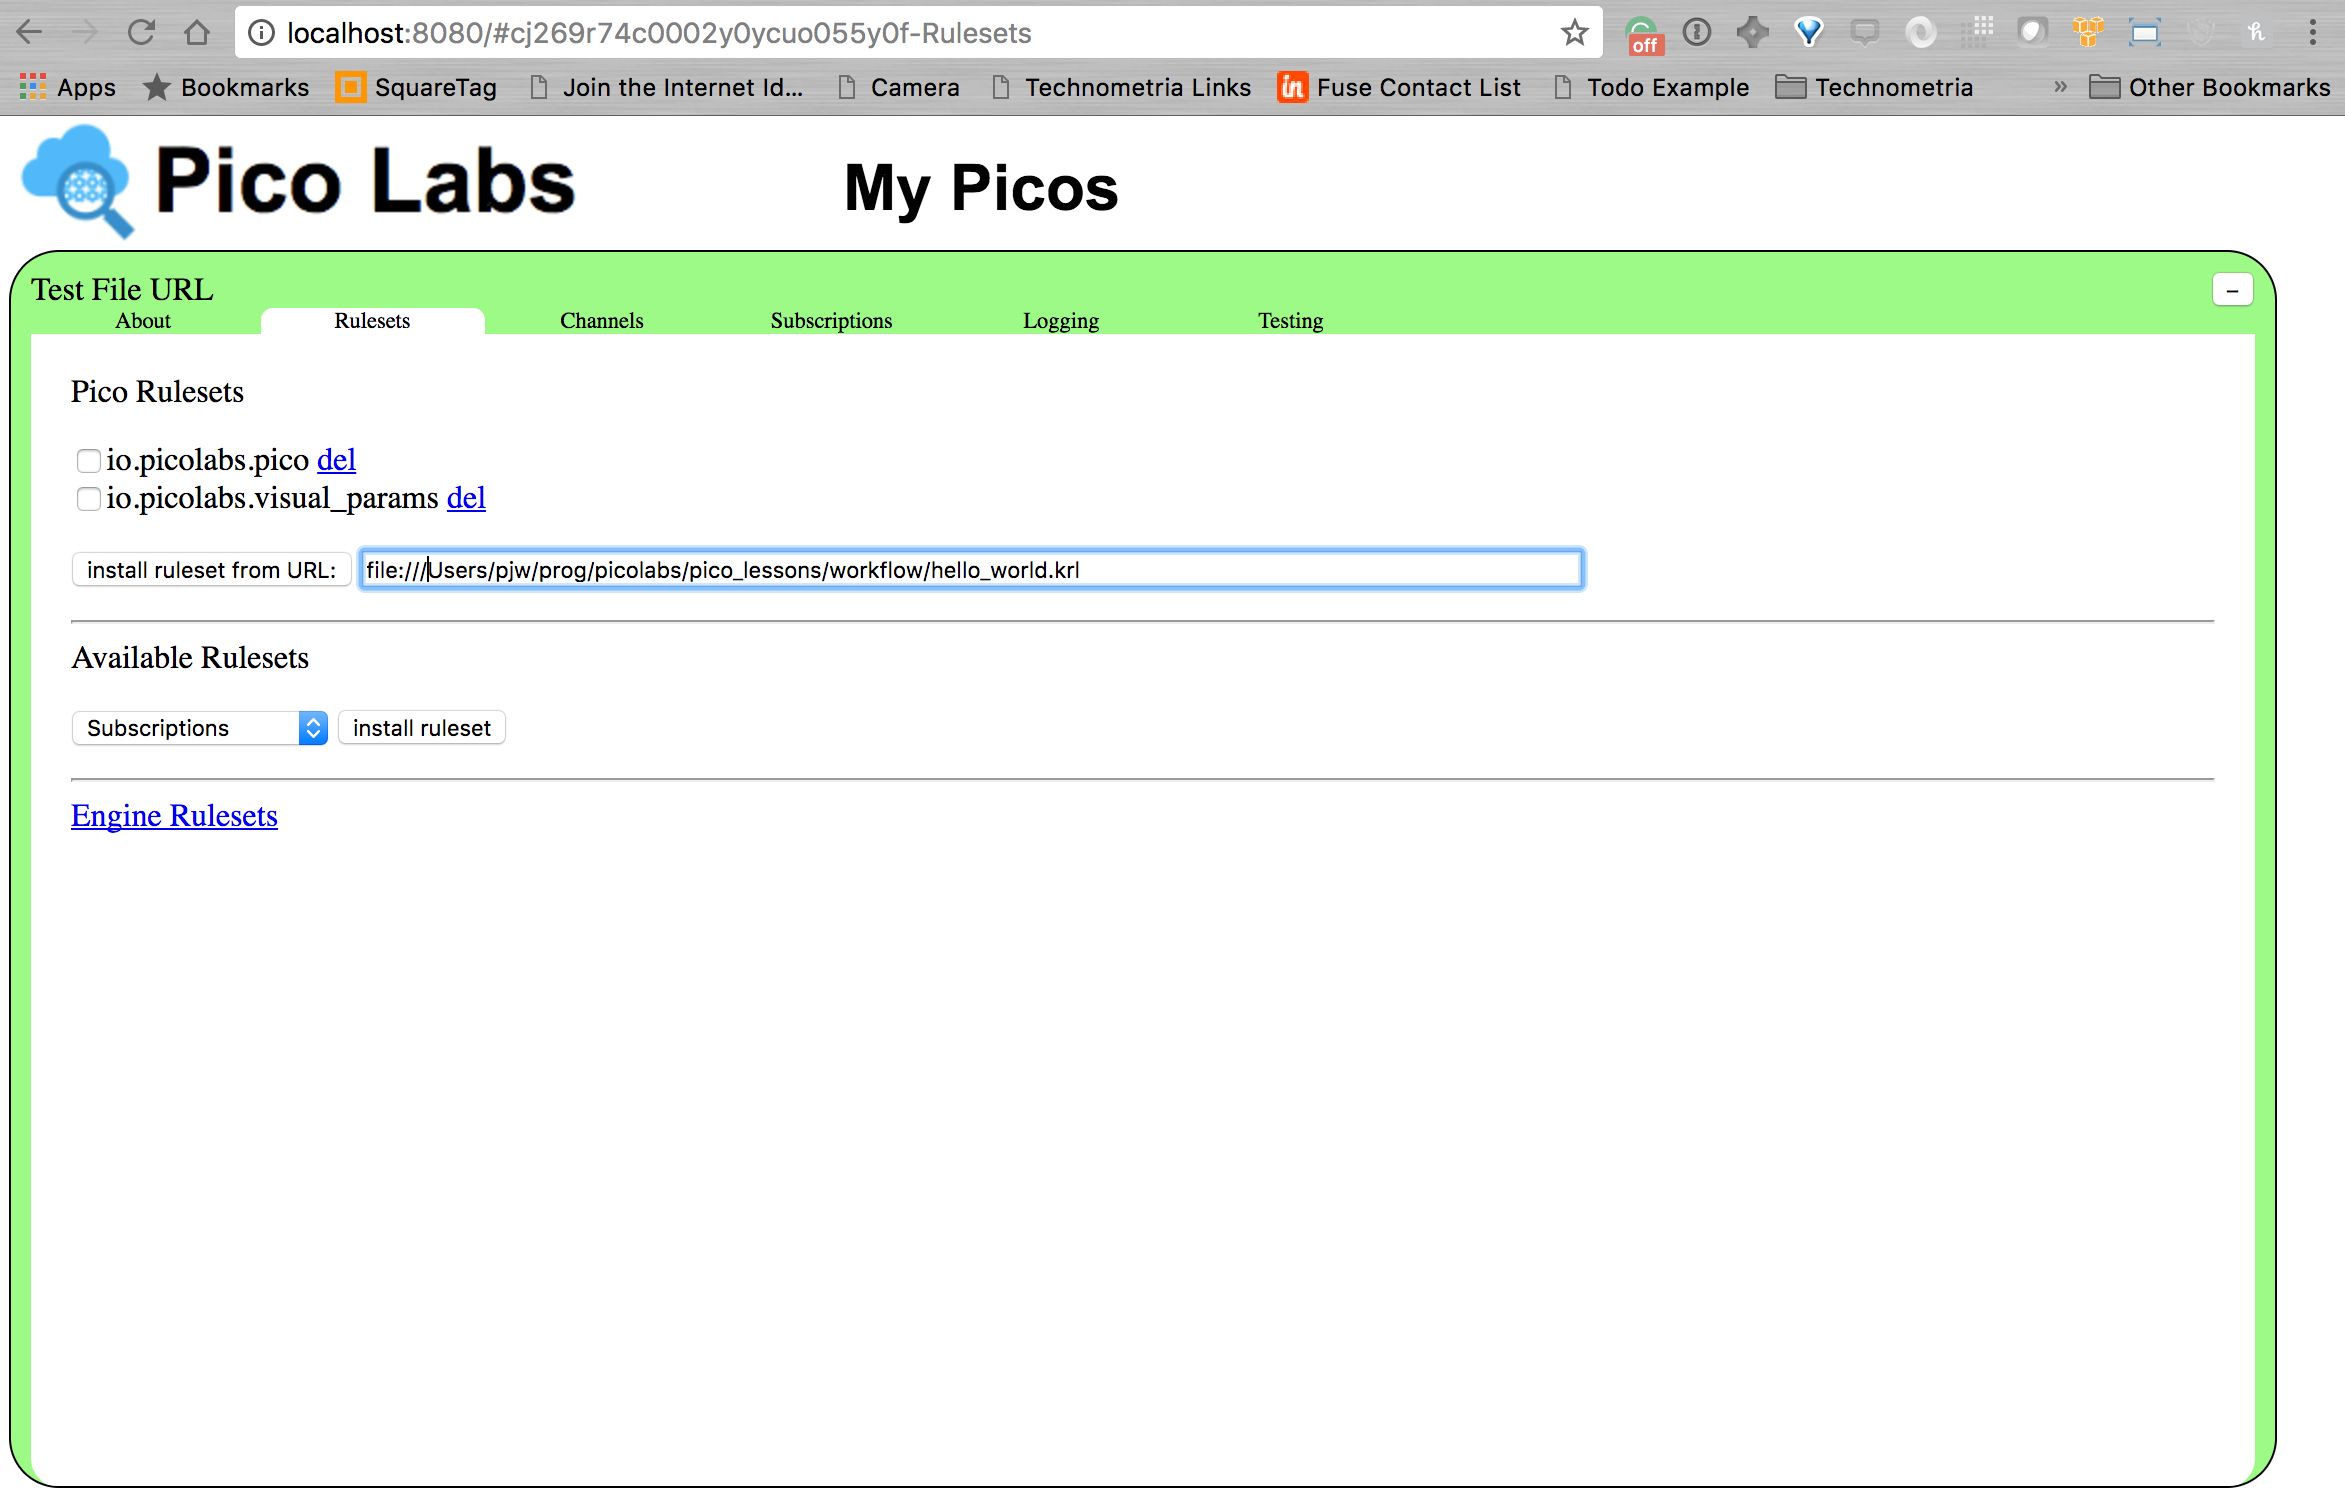
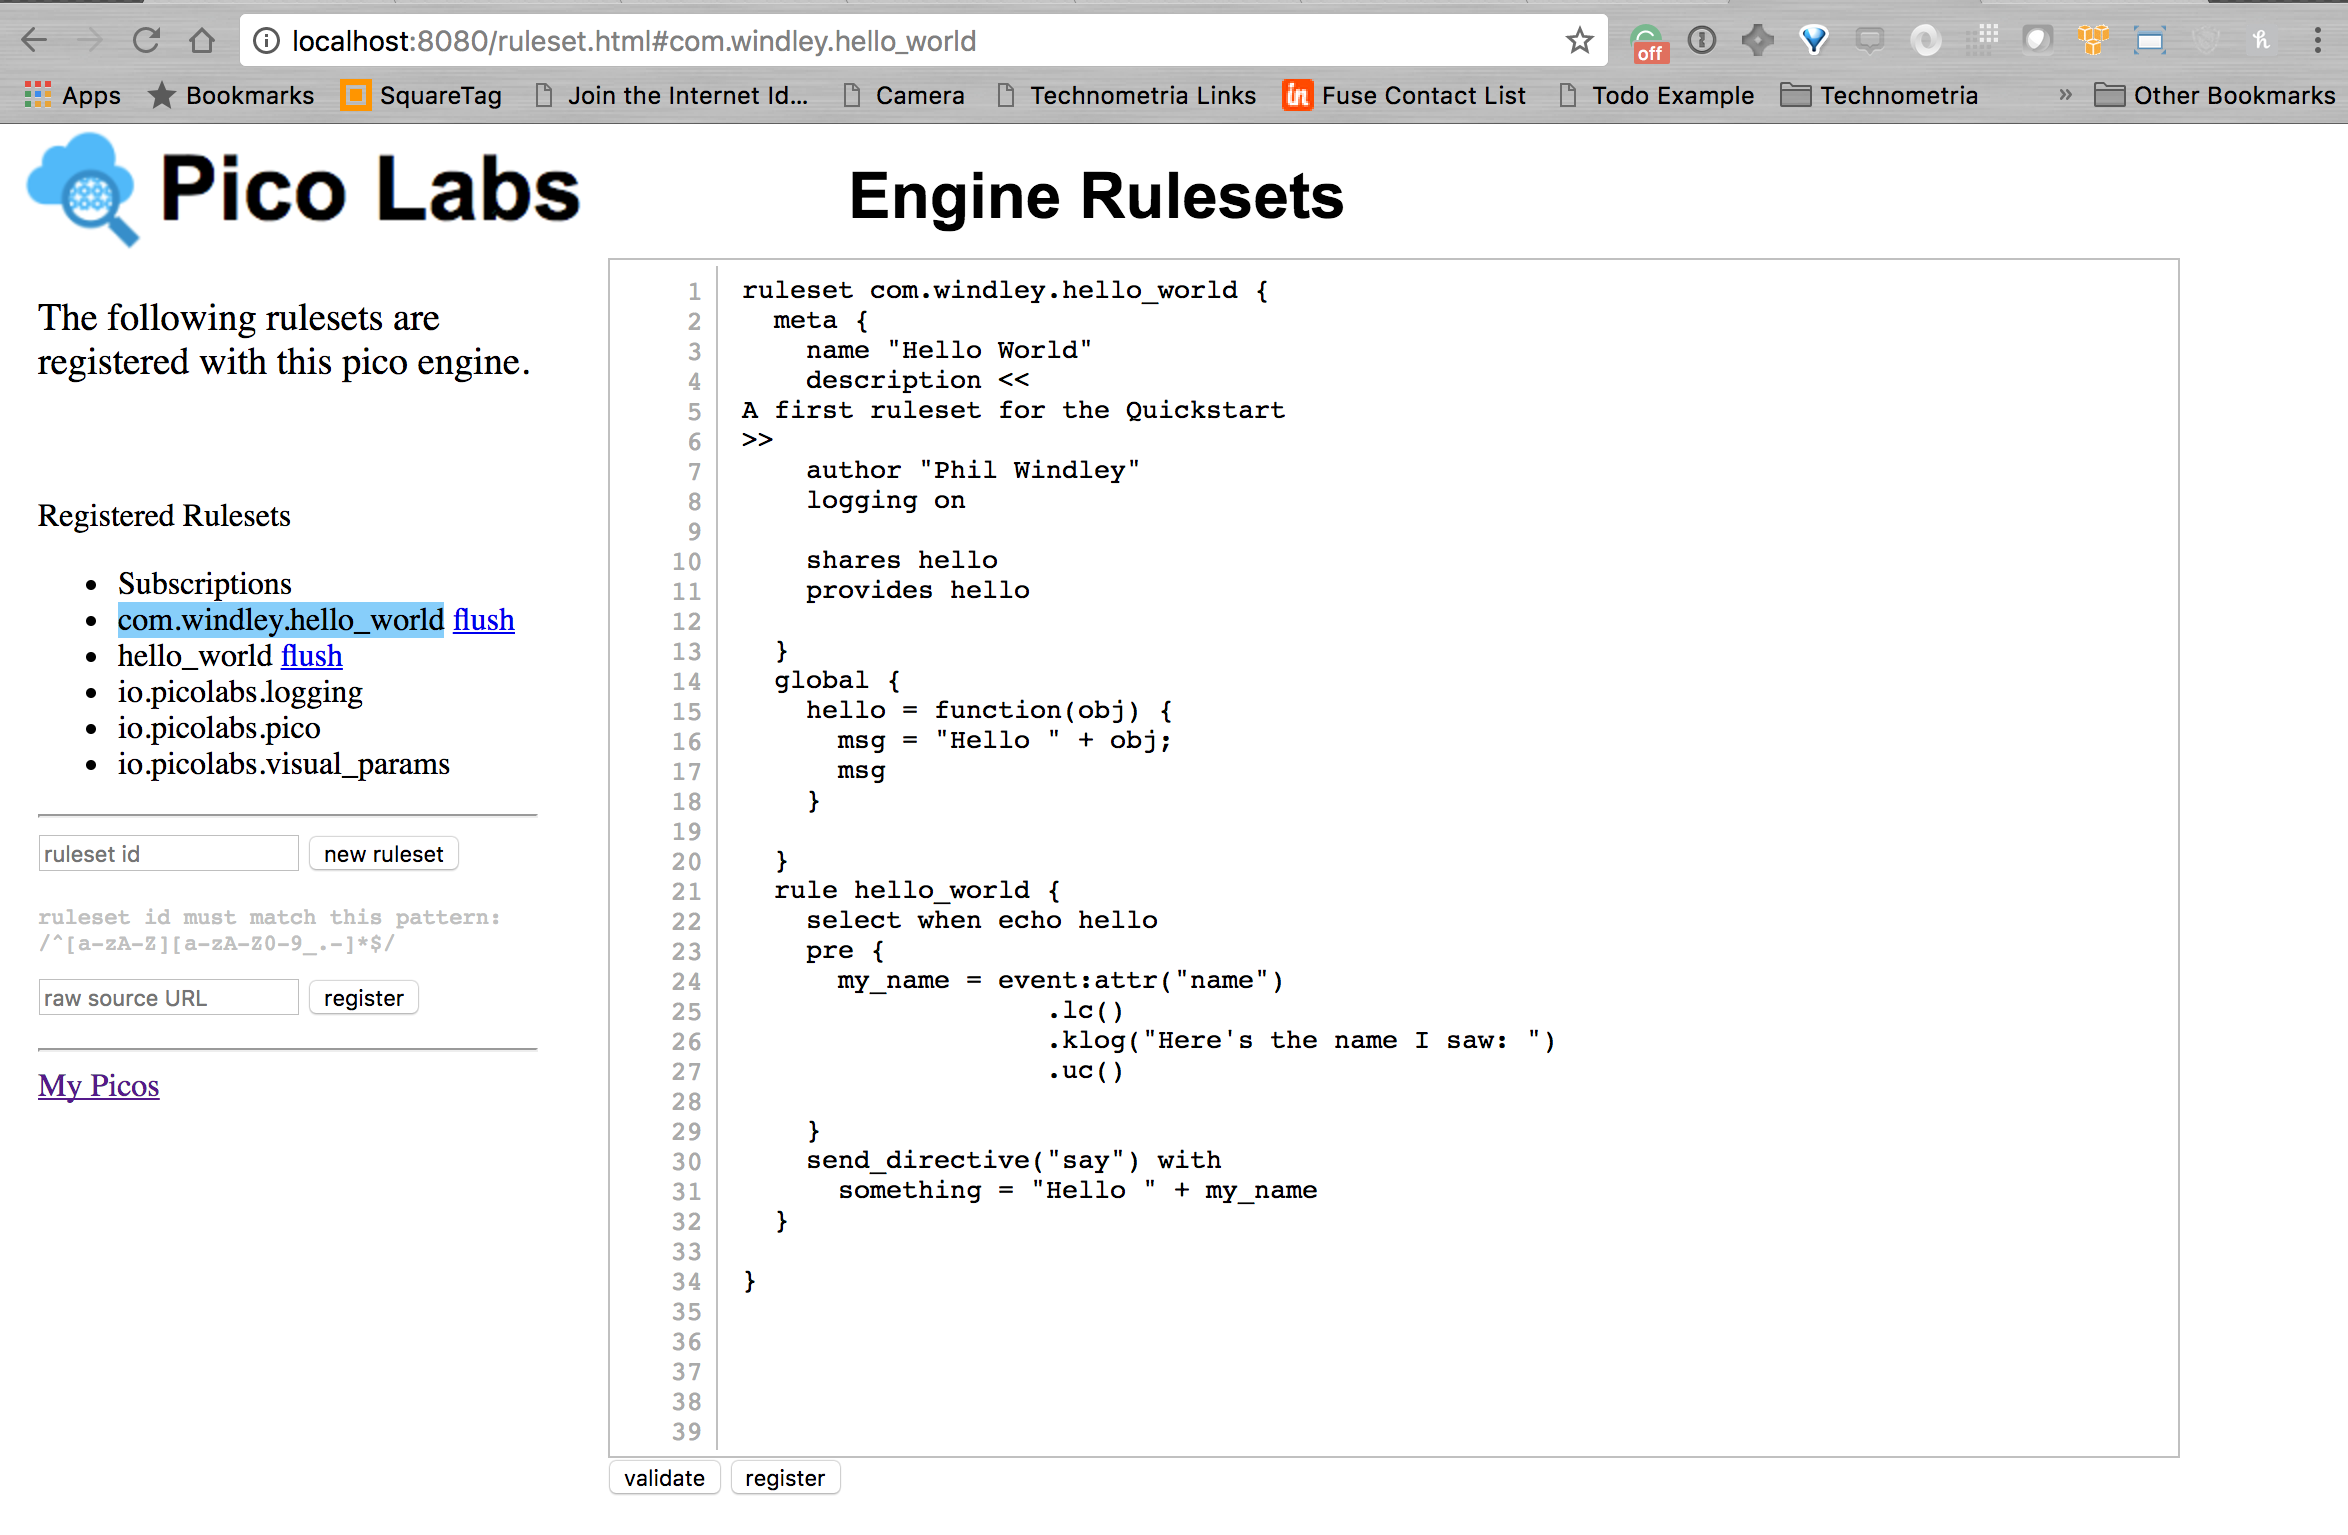
You'll now see the ruleset listed in the installed rulesets in the pico. If you click on the "Engine Rulesets" link, you'll navigate to a page that shows the rulesets registered with the engine.
Notes:
- If you install a ruleset in a pico it also registers it with the engine. You can then install the same ruleset in another pico without re-registering it. You only need to register a ruleset once.
- Rulesets must be flushed whenever they change to force the engine to re-compile the ruleset and incorporate the changes.
- The ruleset name (the string following the keyword
rulesetin the code) is used as the ruleset identifier (RID) by the engine. - For rulesets that are to be used by multiple engines not running on the same machine, you should use HTTP for ruleset access.